To gain access to Online ads Meta leads, Engage users should contact their Voyado Account Manager.Documentation Index
Fetch the complete documentation index at: https://partner-integrations.voyado.com/llms.txt
Use this file to discover all available pages before exploring further.
Setting up the integration
The setup and configuration of the Meta Leads Integration is done like this:Create contact attribute
To track what form the customer has arrived from, you’ll need to first go to Config Hub and create a custom attribute called customSource of type String.Do it like this: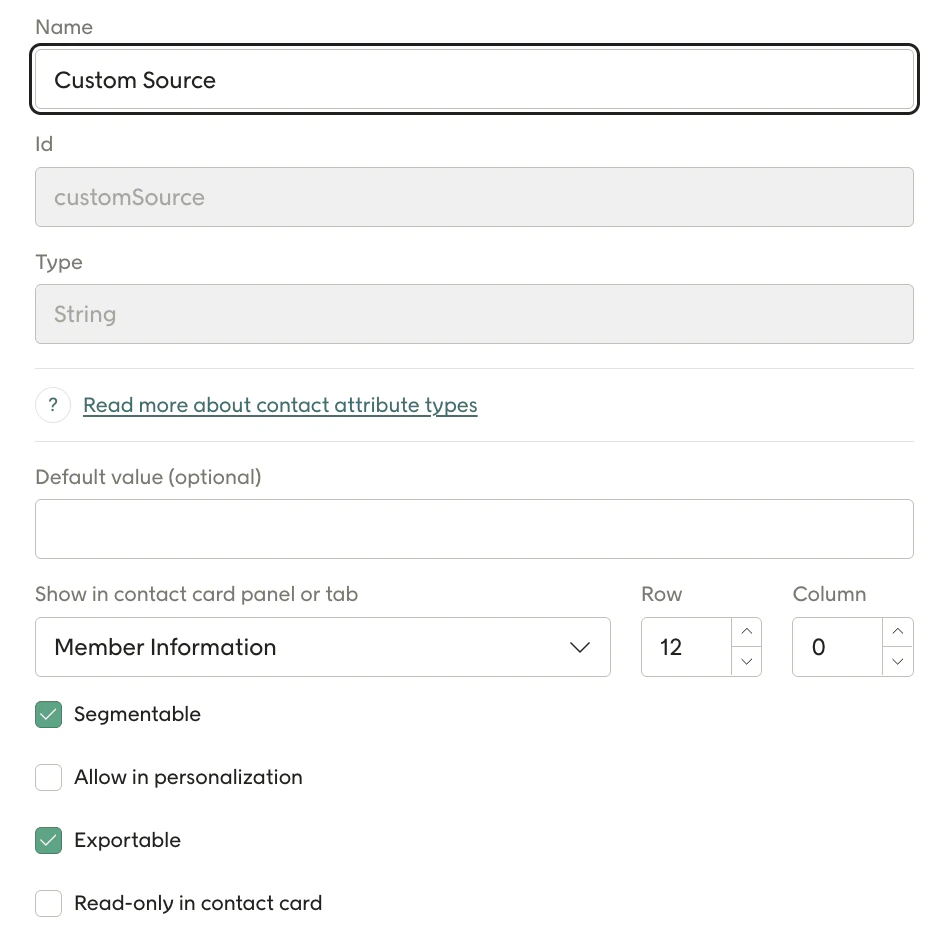
Initial leads setup
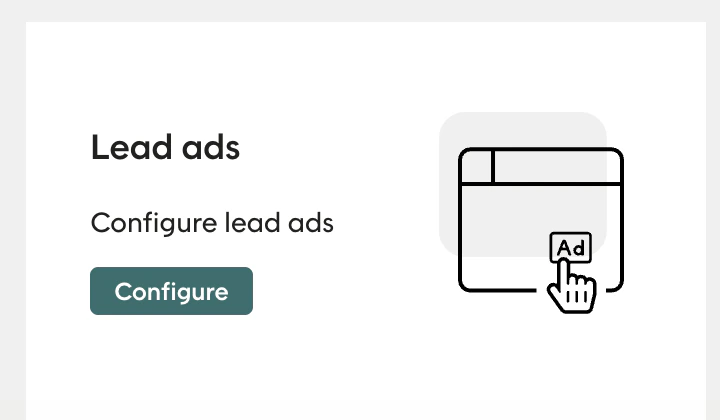
Now log into Onsite Manager:Or go to Config Hub again where you can configure Lead Ads.
Take me to Onsite Manager
Take me to Config Hub
Contact Voyado Support
Accelerator Setup
In Onsite Manager go to: Accelerator Configuration → Accelerators for lead adsIf this section is missing, contact Voyado’s support;Use your existing site in OSM. Currently, you can only connect to one site in OSM.
Contact Voyado Support
Connect to Facebook
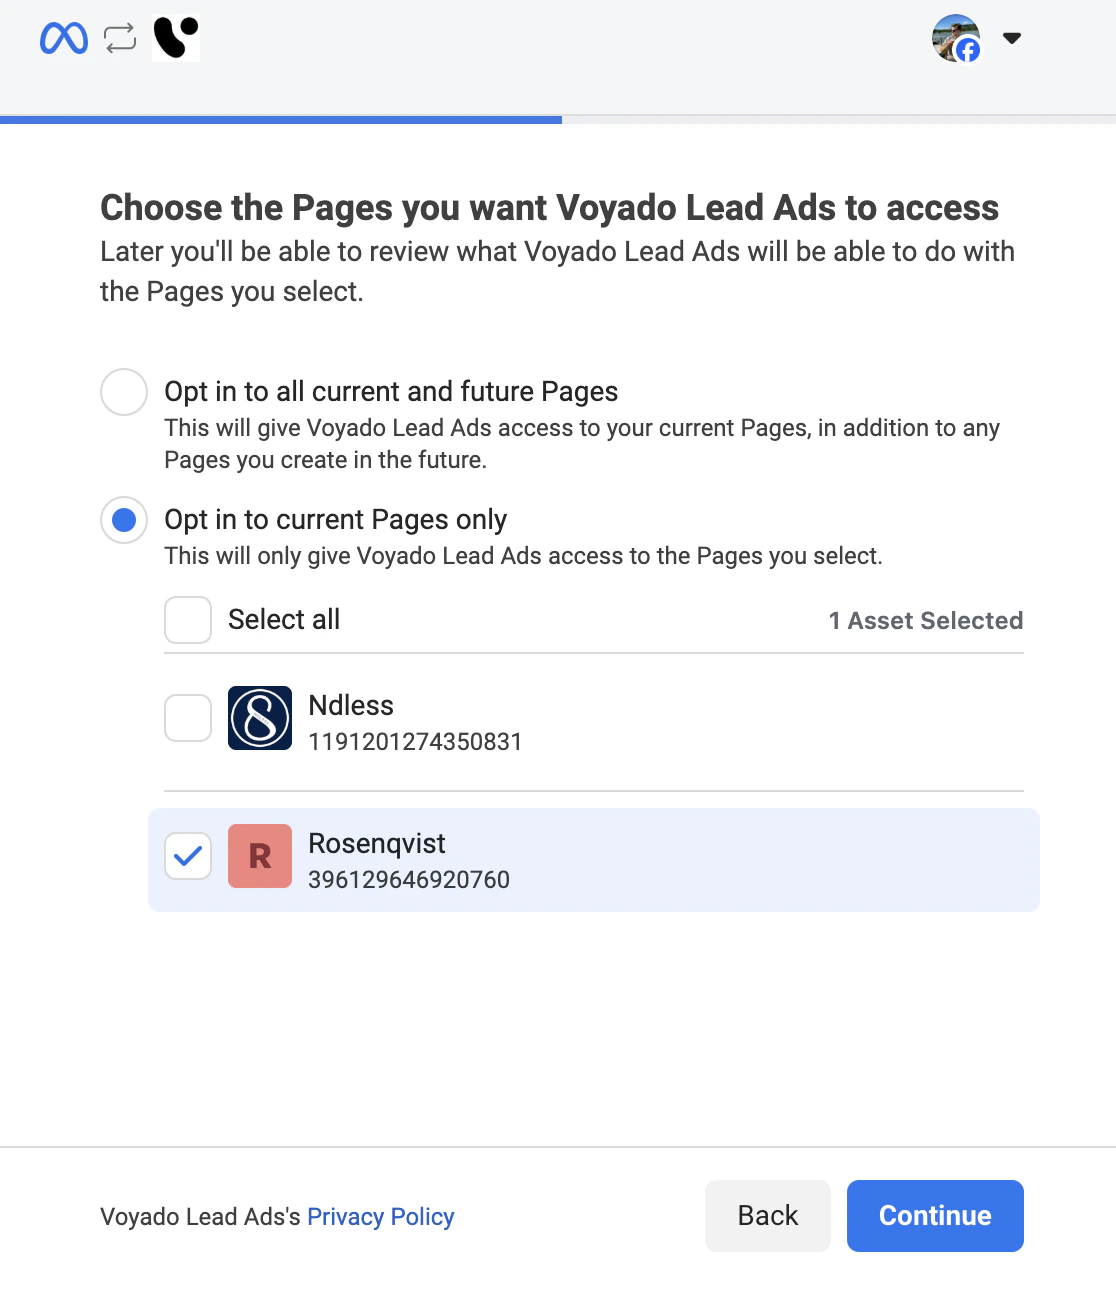
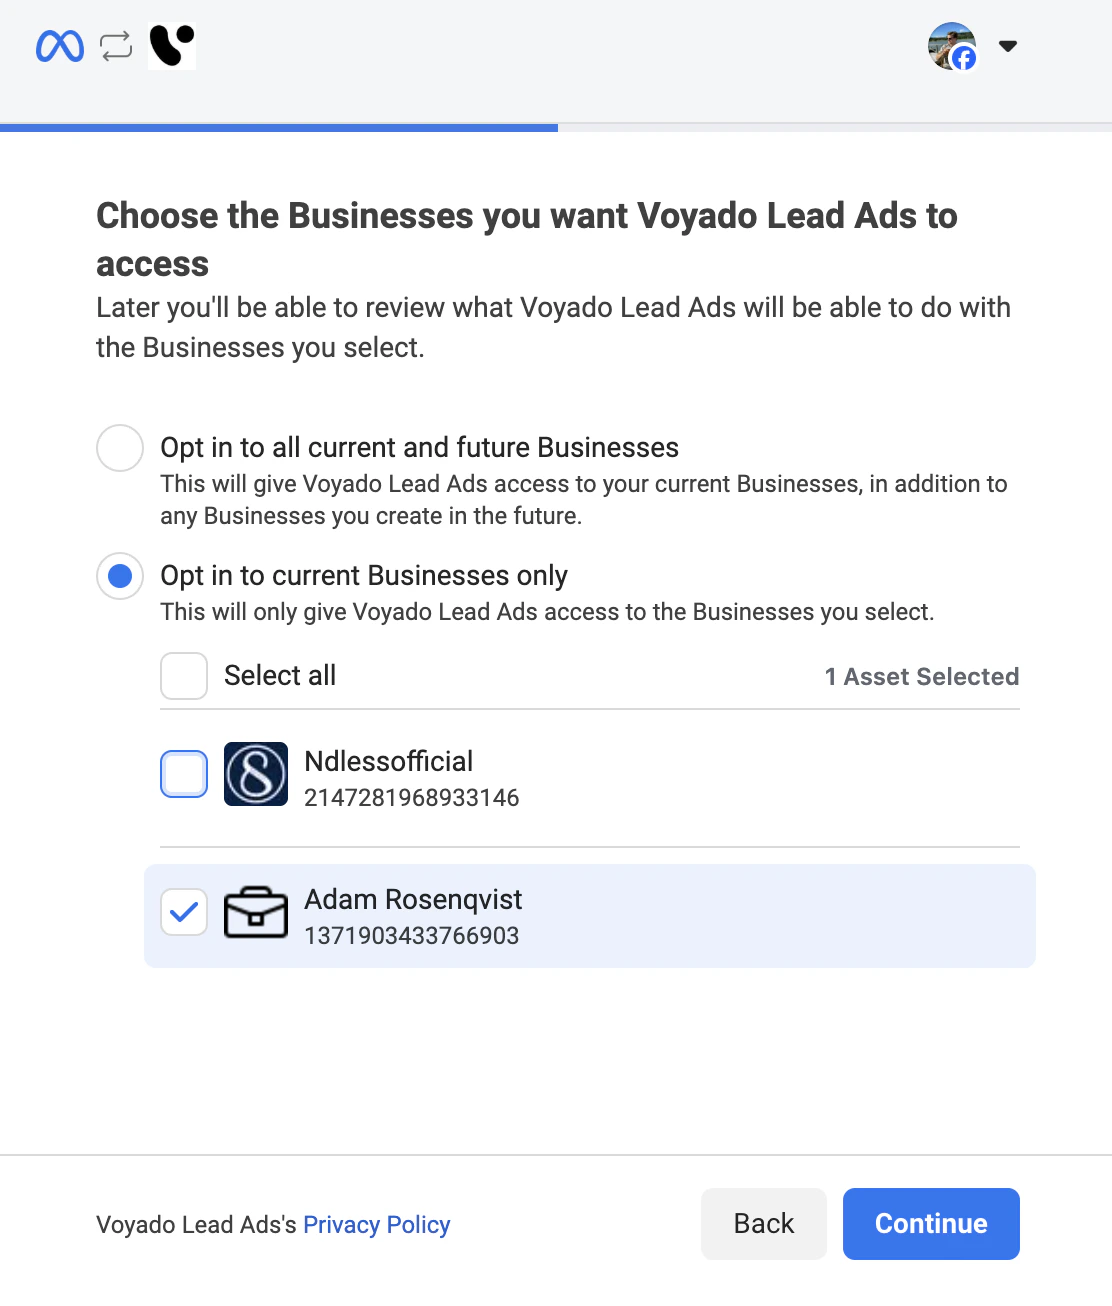
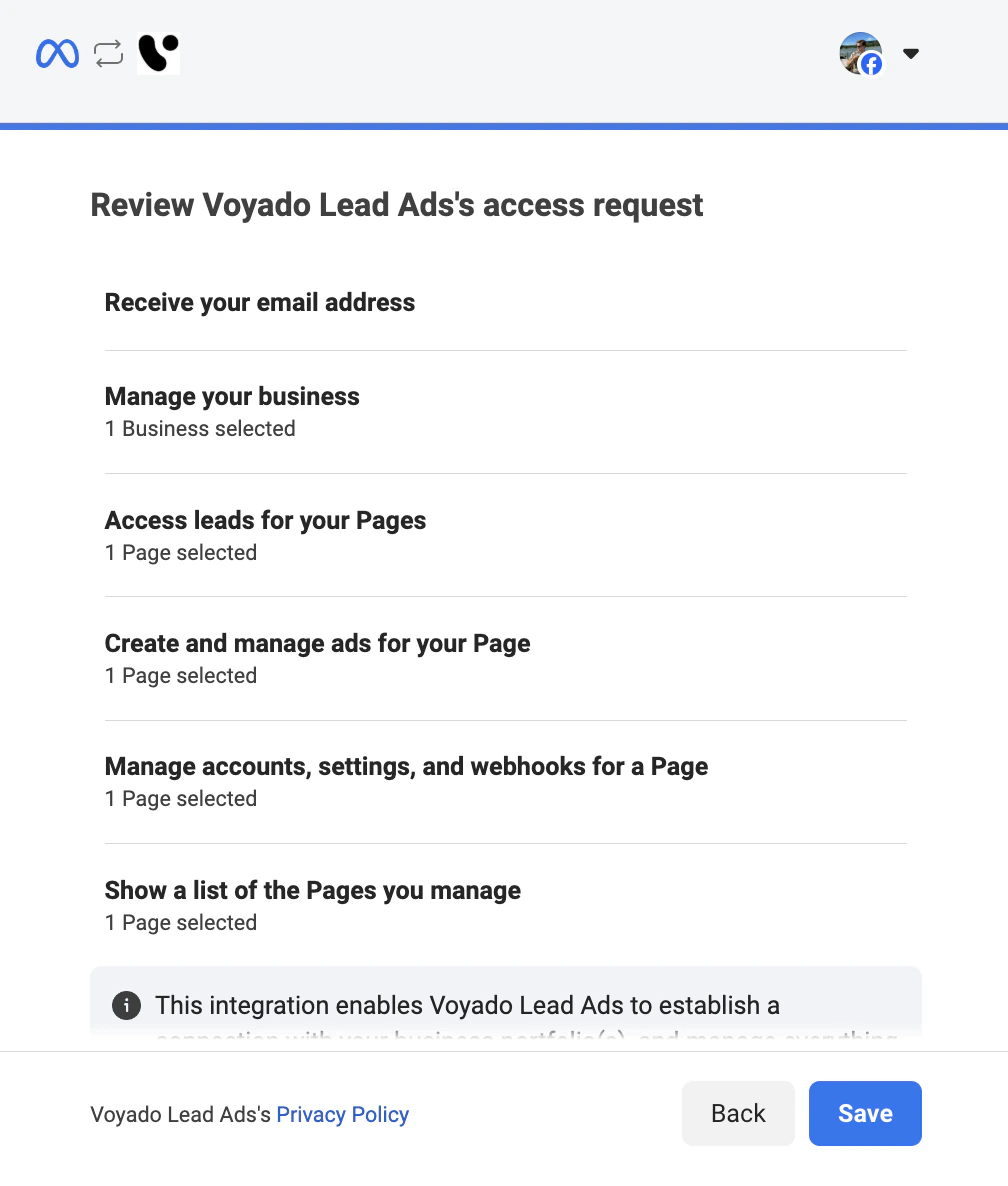
In Onsite Manager press Actions → Edit.In the Facebook section, connect to your Facebook Page.Now go through the Facebook permission flow.The authenticating user must be both Page Admin and Business Admin, and have lead access.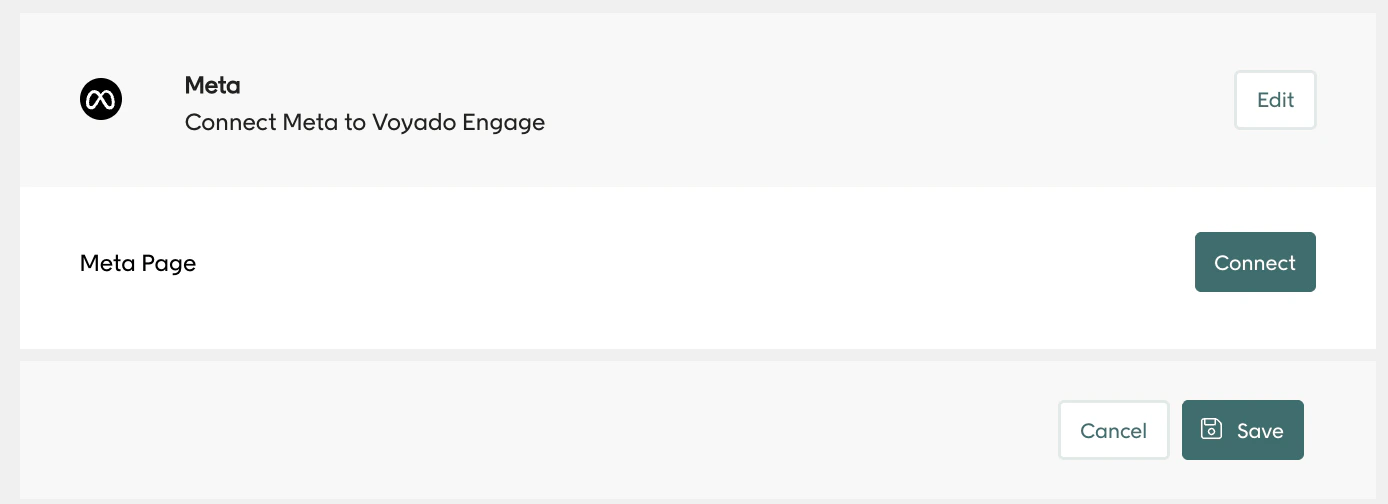
Form Mapping
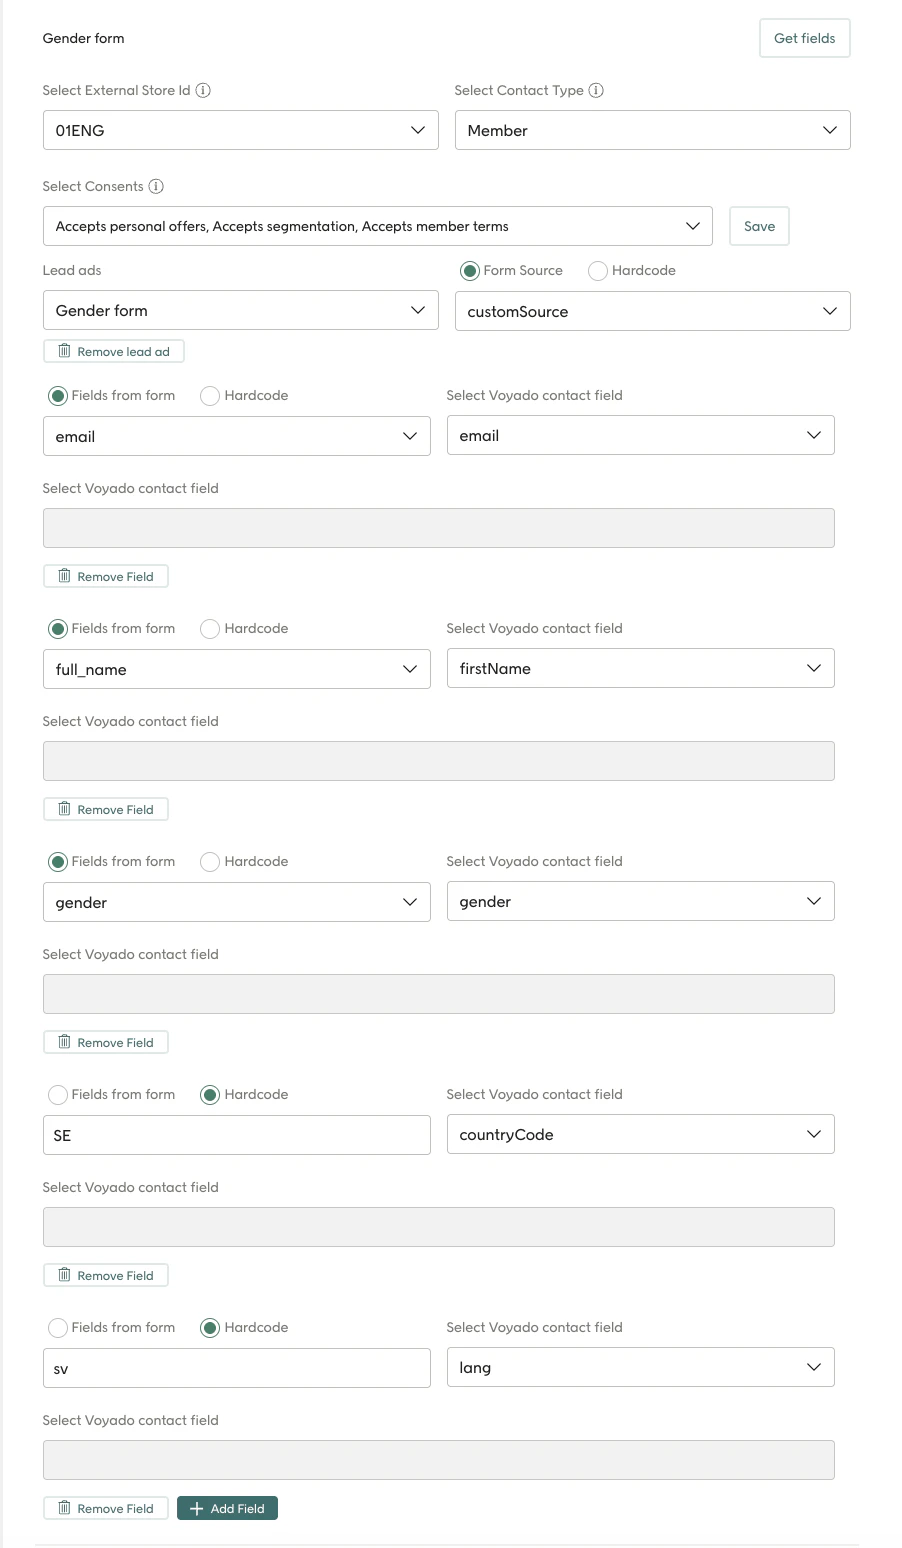
Once connected, Engage will pull in your Facebook Lead Forms.If no forms are visible, ensure one is created in Facebook for your campaign.Choose the form you want and then map its fields to Engage.The Get forms button will fetch all the forms on your page that you can connect to Voyado Engage.Once you’ve done that, you will get a list of forms under Meta forms.Press on the form that you want to connect to Voyado Engage and then press the button Get fields.This will retrive all the fields on that specific form.Do the mapping of fields as shown in the image.Then press Save.