

How it works
Svix is used to dispatch events from Engage to a POST endpoint hosted by the Voyado Engage app.
Read more about this service
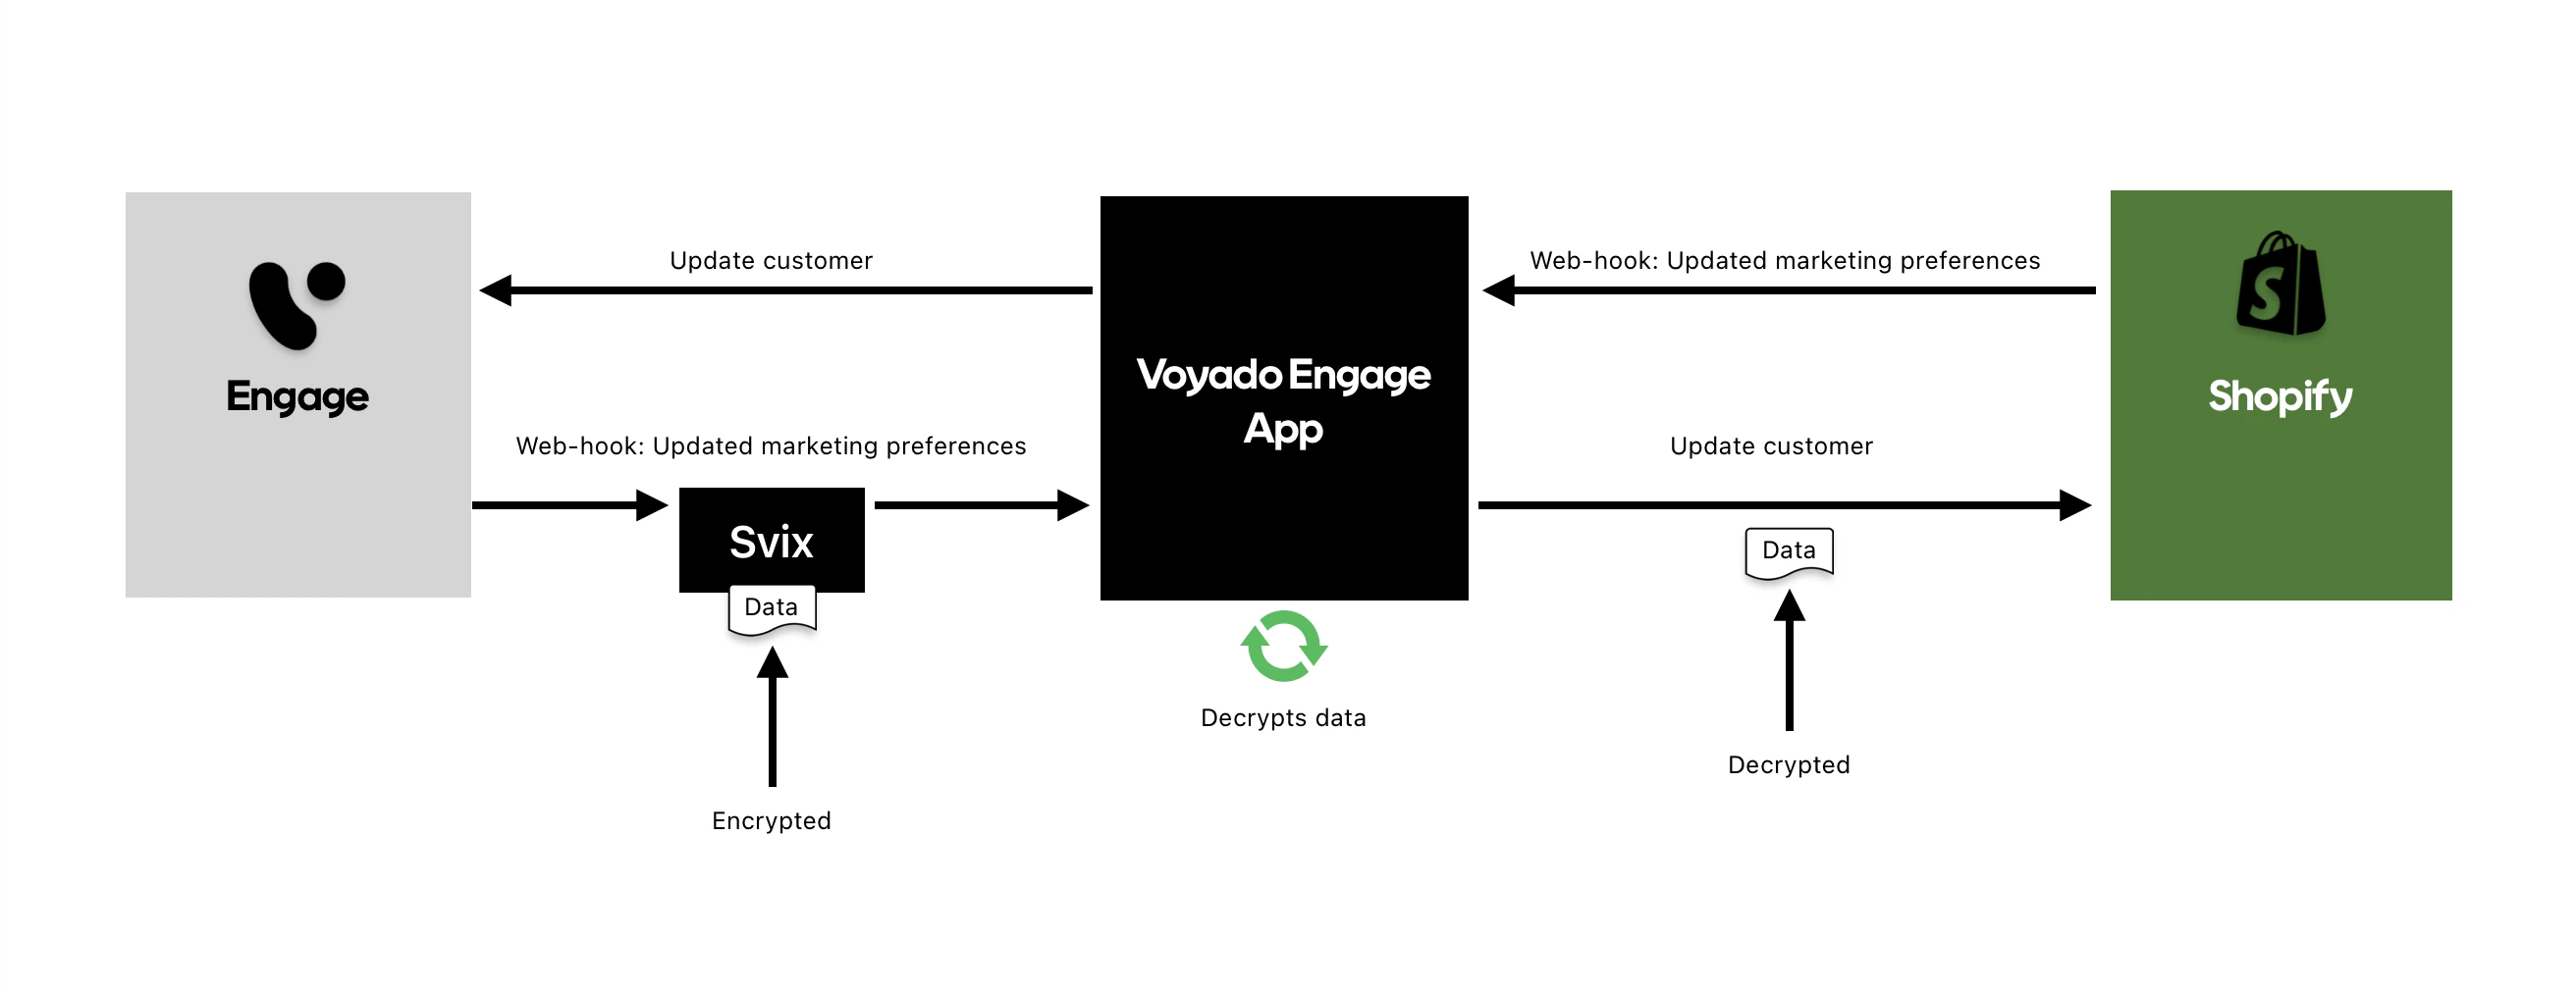
- The customer opts-out from email marketing through an email sent to them from Voyado Engage.
- The change in their preferences triggers an encrypted event to Svix.
- Svix passes the event to the Voyado Engage app, where it is placed in a queue.
- The app decrypts the event payload and updates the customer’s preferences in Shopify
Prerequisites
There are some prerequisites before this will work:- The “Webhooks” module need to be enabled in Engage
- You need to have permissions to access the “Webhooks Dashboard“.
- You will have received a 32 character encryption key from your Voyado team
- You’ve made sure that all customers marketing preferences are in sync between Shopify and Engage
Setting it up
Here are the steps to follow:- Enter the Voyado app for Shopify.
- Go to “Settings“ and scroll down to the section “Synchronize marketing preferences“.
- Enable the functionality by checking the box “Enable“. A “Webhook URL“ and an “Encryption key“ field appear.
- Input your Encryption key and select “Save”.
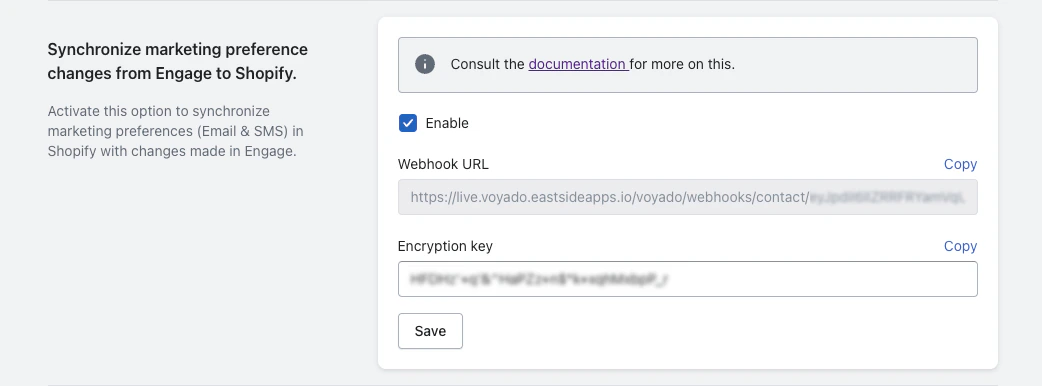
Setup in Shopify app
- Copy the webhook URL to your clipboard.
- Login into Voyado Engage and go to the “Webhooks Dashboard” in the Administration menu.
- In the top right corner, select “Add endpoint“.
- Paste in the webhook URL in the “Endpoint URL” field.
- Enable the events
contact.acceptsEmail.changedandcontact.acceptsSms.changedunder the section “Message Filtering”. - Select “Create“ and you are good to go!
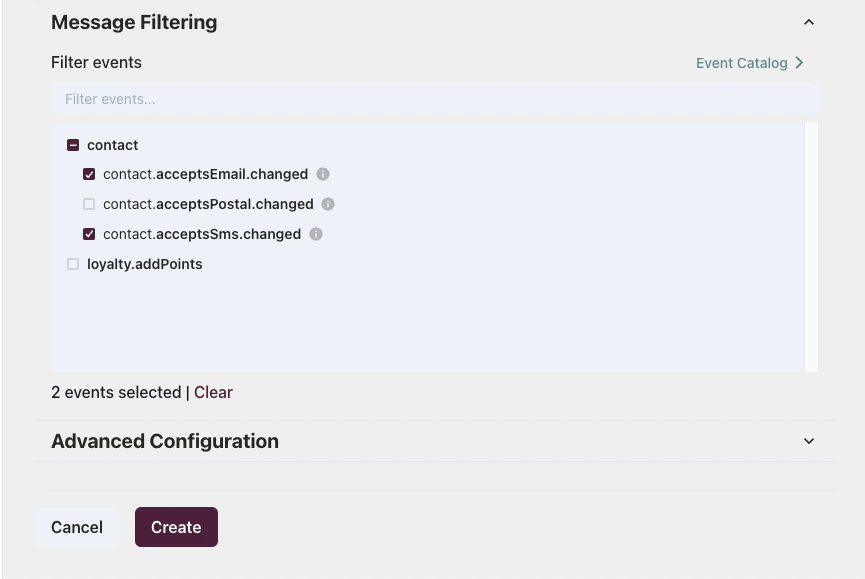
Message Filtering
Email marketing options “Preselected“
If you nonetheless have Email Marketing options set to “Preselected“ in your Shopify Checkout settings, you must enable the separate setting “Synchronize all marketing preference changes from Shopify orders (specified in checkout) to Engage“. Without it, the consent your customers give in the checkout will not reach Engage.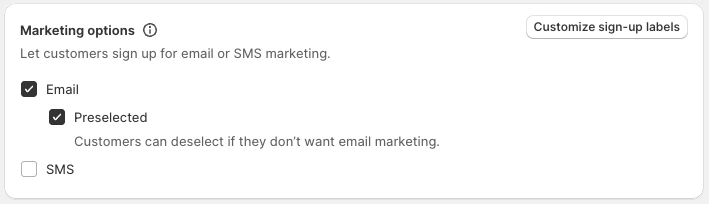
Marketing options set to Preselected
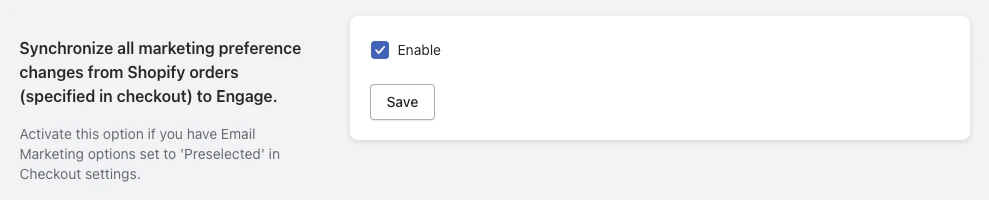
Press Save